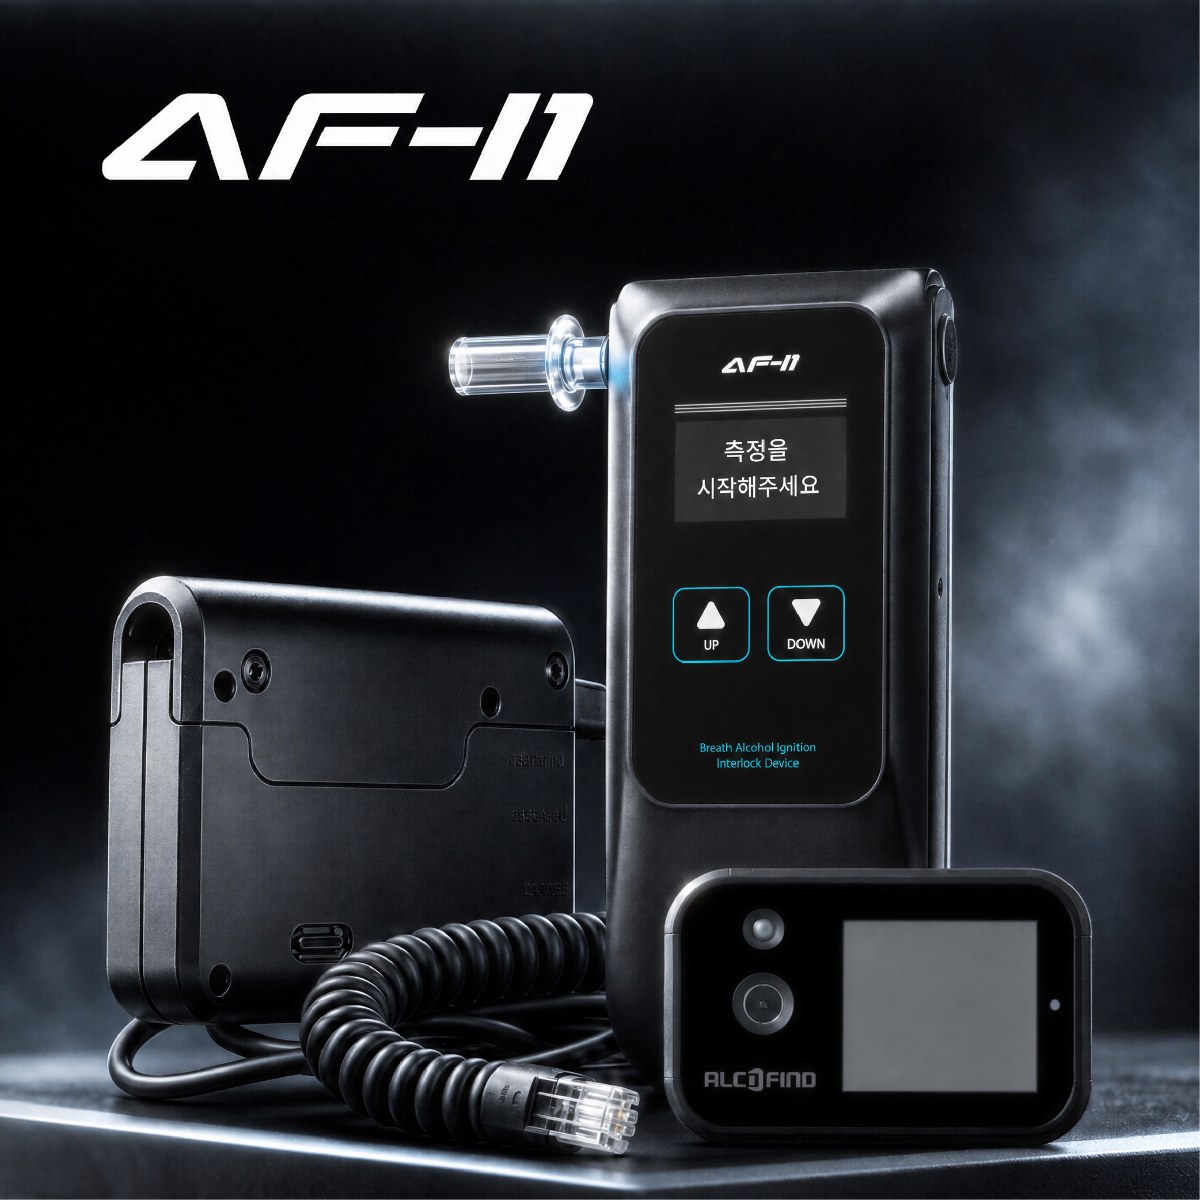
When you use a breathalyzer while moving from site to site, the "weight" on the spec sheet alone is not enough to judge how much you will be carrying. Safety managers and purchasing staff need to prepare equipment for settings where the test location changes, such as work vehicles, temporary offices, and outdoor inspection points. Here, a breathalyzer should be seen not just as the main unit that takes a breath sample and shows the test result, but as a working kit that includes the consumables and power needed for testing and the means of keeping results.
Even if you choose a light main unit, portability means little if you cannot finish testing on site. On the other hand, if you always pack every accessory, the load can grow unnecessarily. To judge what to include in the carrying weight of a breathalyzer for mobile sites, first decide what you will actually do on site, from testing to checking and keeping results, and then compare only the matching kits on the same basis.
Separate main unit weight from working carrying weight
The weight on a spec sheet is usually the weight of the main unit under certain conditions. Whether the figure includes the battery, or excludes separate power accessories, chargers, and cases, changes what you actually carry. So before comparing the numbers for candidate products, you need to align what each number covers.
For mobile sites, it is more practical to calculate the weight needed as "the full kit when you leave with the bag." List the test unit, the consumables that fit that model, the power accessories needed on site, and a case for protection in transit as the basic candidates. If the work requires printing results on site or transferring them to another device, include that device and its connection items too.
Decide what to include based on the testing flow
Which items count toward the weight is decided not by the type of equipment but by the testing flow at the site. First write down who tests where, and whether results are only checked on screen after testing or need to be printed or transferred separately. Then keep on the carrying list only the items needed so that this flow is not interrupted.
| Carrying kit item | When to include it in the carrying weight | What to check when comparing |
|---|---|---|
| Test unit | When you carry out breath tests on site | Applicable model and whether the battery is included |
| Model-specific consumables | When the test method uses consumables or replacements are needed | Items that fit that model and the package size |
| Power-related items | When charging or power preparation is needed during on-site use | What is supplied as standard and whether you must carry anything separately |
| Recording and transport items | When results must be kept separately or protection is needed in transit | Connection items, case, and how much it can actually hold |
Including every item in the table is not the right answer. For example, if the work does not involve transferring results separately on site, you can leave recording equipment out of the carrying kit. However, if you assume all the accessories in a photo come as standard, or leave out the needed consumables and protection just because the main unit is small, the basis for comparison itself changes.
For consumables, settle compatibility before quantity
In breathalyzers that use breath, consumables change both the carrying weight and the storage space. There may be products divided by purpose and applicable model, such as consumables for precision testing and for detection testing, or mouthpieces exclusive to a specific model, so it is better not to calculate them as "one type of mouthpiece." A mouthpiece is the consumable you put your mouth to during a test.
First confirm which consumables the candidate model uses, then set the quantity to carry based on the number of people you expect to test in one trip plus spares. If you run different models together, you can also reflect a kit that stores items separately so they do not get mixed up in your weight judgment. Even if something is described as universal, do not stretch that to mean it fits every model.
Find gaps in the kit through a hypothetical site case
For example, suppose a staff member makes the rounds of several work locations in a day and must check results on site after testing. The main unit alone is light, but on closer look, consumables for testing, power supplies, and a case for protection in transit are needed separately, and results may also have to be transferred to a separate device.
This observation means you should compare not the "main unit weight" but "the weight of the bag needed to finish that day's work." A possible action is to group the main unit with consumables, power accessories, and the case into one kit and actually pack it, adding related items only if the work of transferring results is confirmed. The completion standard is a state in which the bag holds everything needed on site, from testing to checking results and carrying it safely to the next location, without always carrying equipment you do not use.
Transfer the quote's scope of supply to the weight comparison table
Before buying, it helps to include in the quote a list that separates the main unit from items purchased separately, and compare on that basis. Even under the same model name, the total weight and initial supplies can differ if the scope of supply for batteries, cases, consumables, and connection items differs. For items without a stated figure, it is better to leave them as unconfirmed than to add them up using estimates.
For each candidate, list the main unit weight, whether the battery is included, standard items supplied, and consumables and transport items to carry separately, in the same order. If you then recheck against the kit you will actually receive, you can reduce cases where you chose a light main unit but the site bag ended up heavier. The carrying weight of a breathalyzer for mobile sites should be judged not by the smallest number, but by the weight of the minimum kit that lets you complete the defined work on site.